Easy DIY Evergreen Wreath Tutorial
When life throws you lemons, you make lemonade. Right? So what do you do when a powerful windstorm knocks down the beautiful blue spruce in your backyard? You have your friends over for an evergreen wreath making party. And that’s precisely what my friend did this past weekend – she put out an open invitation to her Facebook friends for an evergreen wreath making party where she’d supply the evergreen branches and we just had to bring whatever else we needed to make our wreaths.

It’d been a long while since I done any real crafting, and I was excited about the possibilities when I saw the invitation. I double-checked with my husband to make sure the day/time would work for me to be able to get away for a few hours, and I started brainstorming ideas in my head. (I probably should have taken a few minutes to search Pinterest for ideas and tutorials, but I didn’t – I just went with my gut.)
On the way to my friend’s house, I stopped at a craft supply store to pick up a few essential wreath making items:
- wire wreath frame (I picked up a 12″ frame due to the location I’d be hanging the wreath when I got home)
- floral wire (I went with green so it’d blend in with the evergreens, and I chose a pack with a built-in cutter for convenience)
- ribbon (my choice for decorating the wreath once I had it assembled)
Upon arriving at my friend’s house, we realized that none of us actually knew what we were doing. I had an idea of how I thought it should be done, so I began to put my wreath together while the others followed my lead. As they had questions, I’d attempt to determine a solution, and then I’d document it with my phone’s camera in order to put together this tutorial.
It turns out that making your own evergreen wreath is not only fun, but it’s also quite easy, albeit a bit time-consuming. We had a great two hours of fellowship while assembling our wreaths, and even the least “crafty” of us came away with a beautiful handmade evergreen wreath to display in our homes this holiday season!
Easy DIY Evergreen Wreath Tutorial
1. Gather your supplies – you’ll need (at minimum) a wire frame, floral wire, and plenty of evergreen branches. You may also opt to use holiday floral stems, ribbon, and/or pinecones to decorate your assembled wreath.
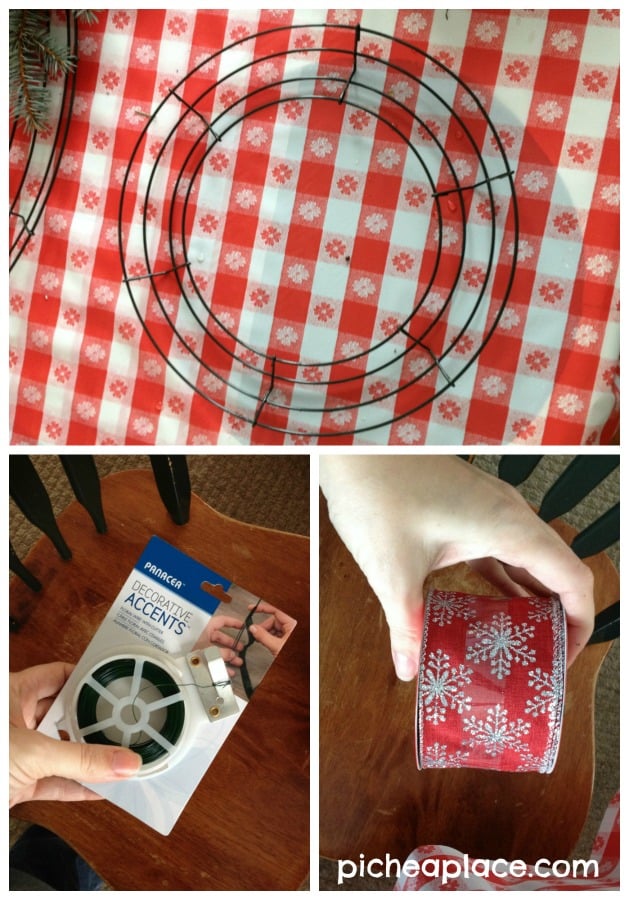
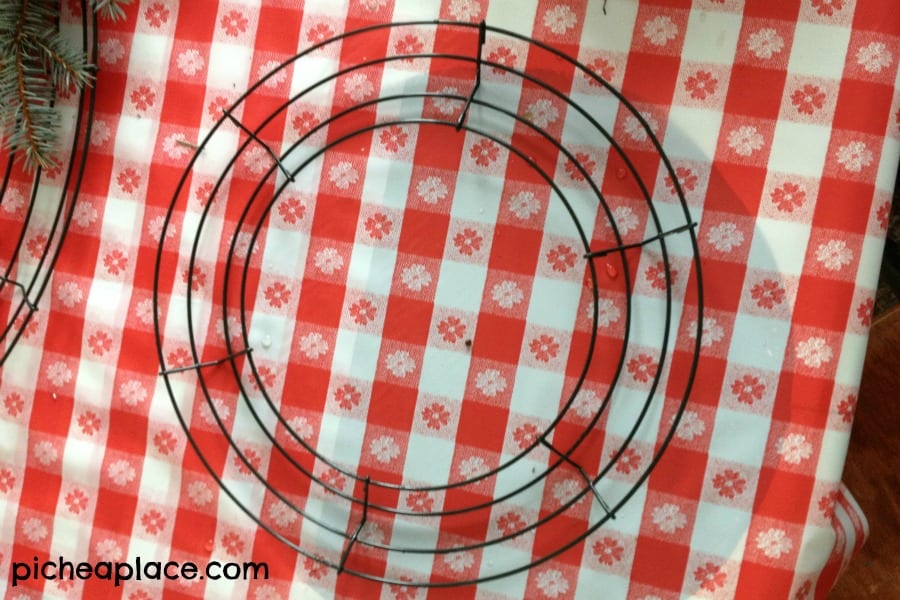
2. Lay your wire frame on your work area with the concave side facing you (so that the branches will lay “inside” the frame).
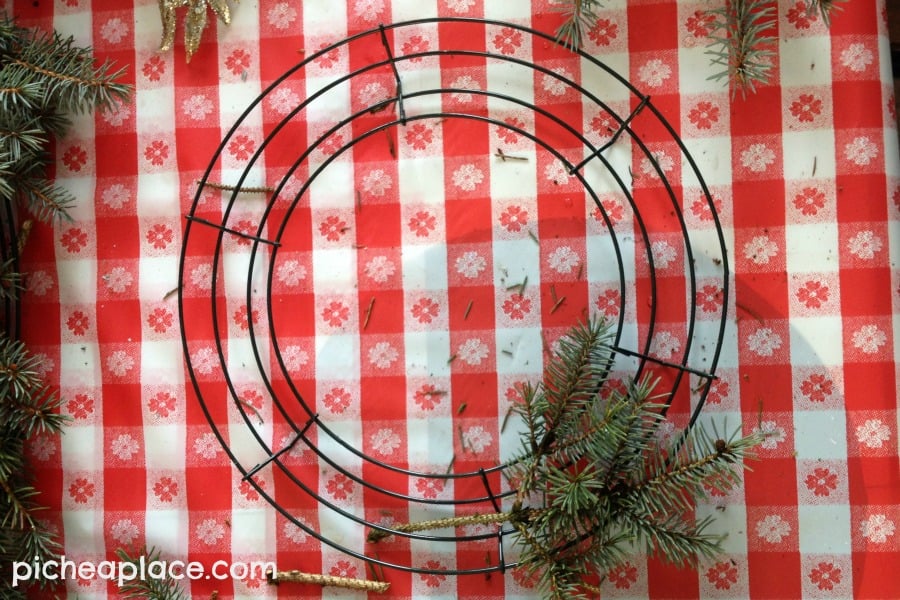
3. Cut your evergreen branches – I used branches about 10-12″ in length with plenty of fullness – and begin to lay them inside your frame, layering them slightly while being sure to lay them all in the same direction. (I did mine with the stems all pointing clockwise in my frame). You’ll probably need twice as many branches as you originally think in order to get the thickness you desire.
4. Once you have an idea of what your evergreen wreath is going to look like, begin tying each branch in with floral wire. Simply align the branch in your frame and use a 4-6″ piece of floral wire to “twist tie” the branch into place. You’ll want to be sure to attach each branch securely to the frame.
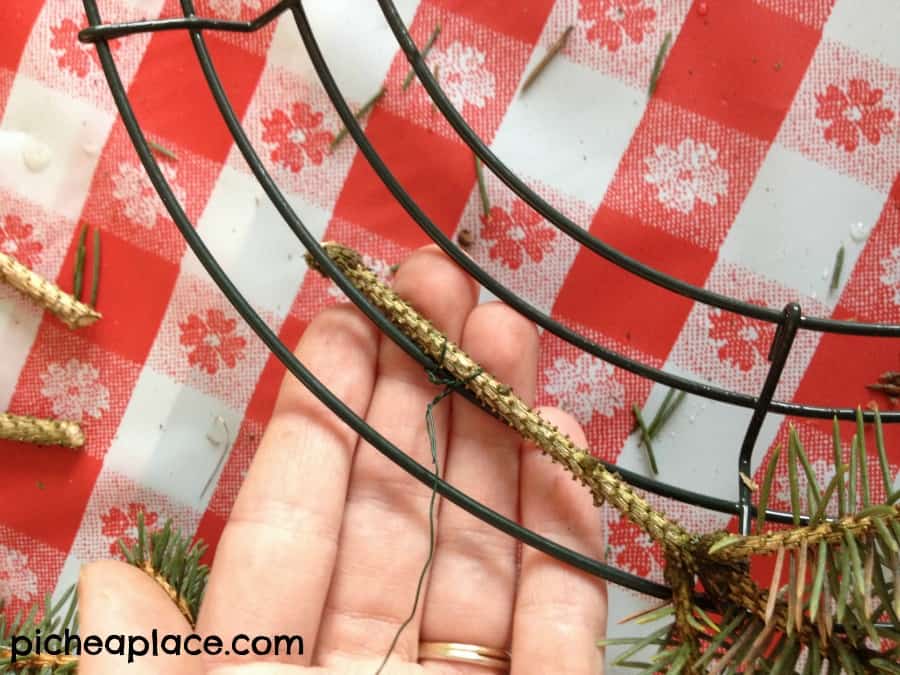
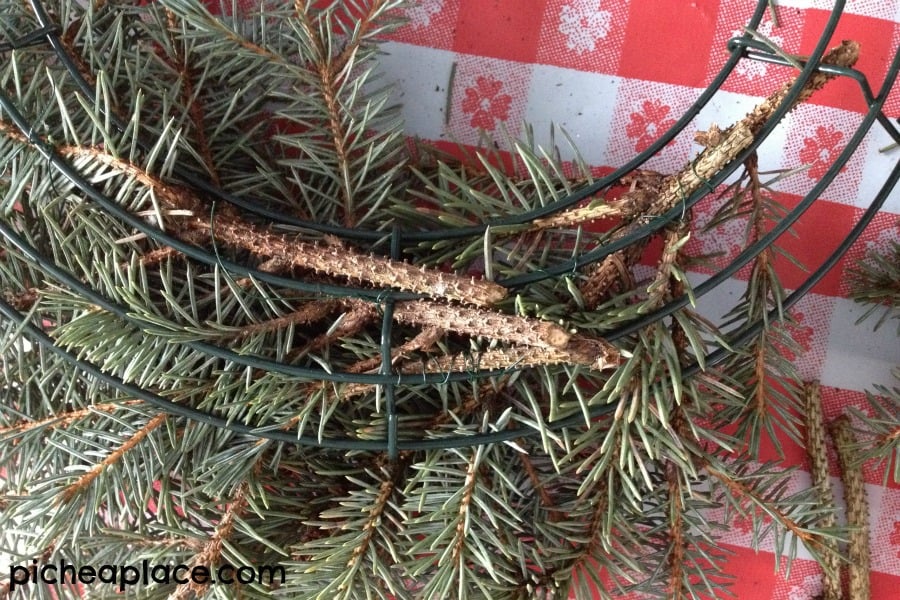
Note: when using the floral wire, you’ll want to “fold it half,” centering it on the branch you’re attaching so you have two pieces to twist together on the backside of the frame. The same will be true when you attach any decorative pieces to the wreath once it is assembled.
5. Continue to add branches as you work your way around the frame, making sure to occasionally pick your frame up to look for “bare” spots where you’ll need to add additional evergreens.
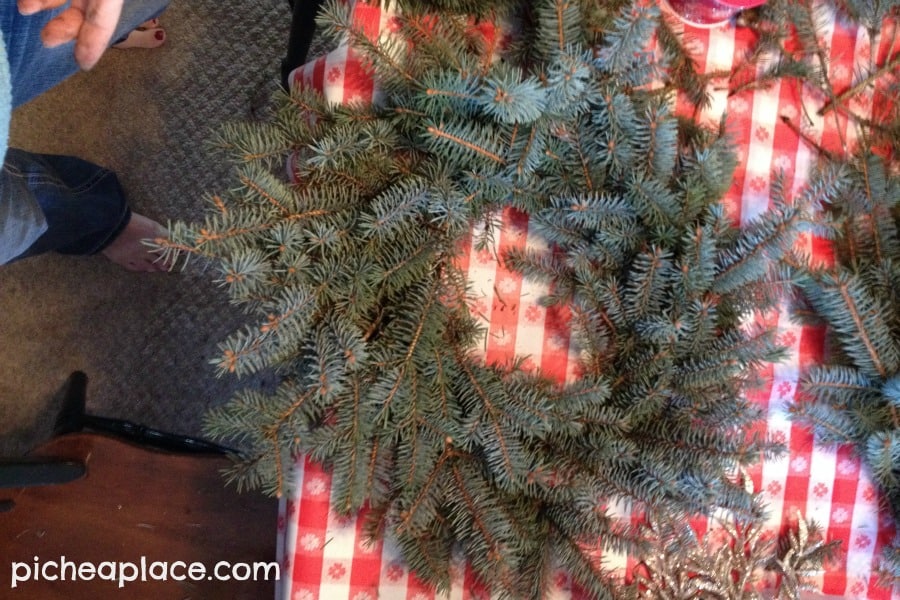
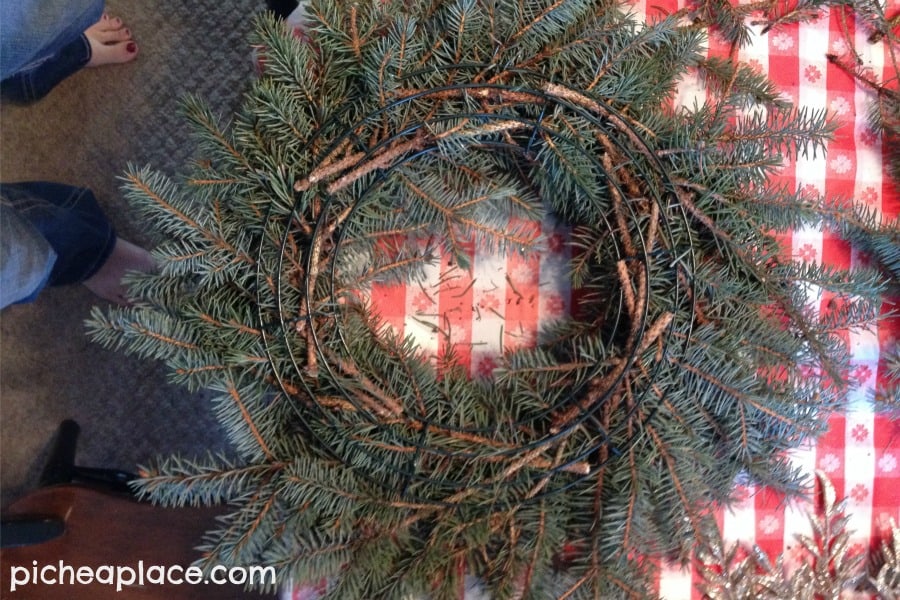
6. When you’ve successfully tied in all your evergreen branches, you are ready to begin decorating your wreath. I opted for a medium-sized bow on the top of my wreath along with some pine cones (also provided by my friend who lost the tree) scattered throughout.
How to Make a Decorative Bow

Select a wide ribbon. I chose one with wire running along the edges to give my bow a more defined shape.
To create the bow, simply wrap your ribbon around your hands the desired width of your bow, leaving a slight overlap in the middle with either end of your ribbon. You’ll want to wrap it the number of times around that you want to have loops on each side of your bow. (For example, I wanted a bow with four loops on each side, so I wrapped my ribbon around my hands four times.)

Then you’ll cut another piece of ribbon that is slightly larger than double the height you’d like for the center of your bow in order to wrap it around the loops and be able to secure it behind them.
Use a 10″ piece (or larger if necessary based on the thickness of your bow and wreath) of floral wire to secure the smaller piece of ribbon around the loops of the bow and tie the bow onto the wreath.
Once your bow is secured, pull the individual loops out to give your bow a 3D effect.

Attaching the pine cones was also quite easy. Simply wrap a length of floral wire (about 12-14″ long) around the bottom of pine cone (tucked inside the lowest layer of cone scales that have opened), twist at the base of the pine cone, and then tie the pine cone into place on the wreath.
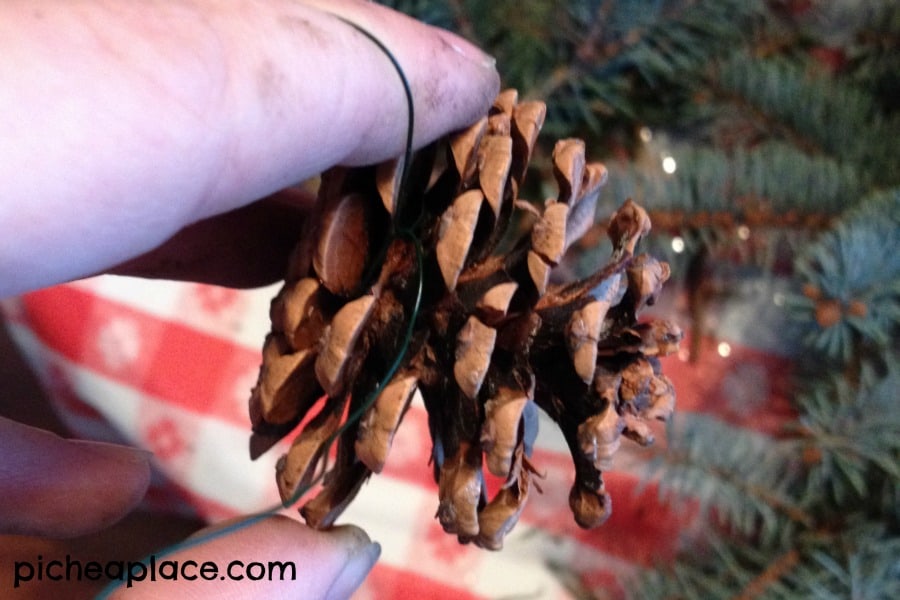
If you opt to attach any additional decorative pieces, you’ll do so in the same manner as you’ve done with the branches, ribbon, and/or pine cones – simply tucking the pieces into the wreath and using the floral wire to “twist tie” them into place on the frame.

Creating your very own evergreen wreath this holiday season is so simple and will bring you such enjoyment every time you look at it. I’m so thankful for the time I had to spend with friends creating this beautiful wreath!
P.S. After the holidays are over and your evergreens begin to fall apart, simply turn the wreath over and use wire cutters to cut the floral wire off the wire frame in order to be able to save it for next year’s wreath.
