Pumpkin Carving with Kids
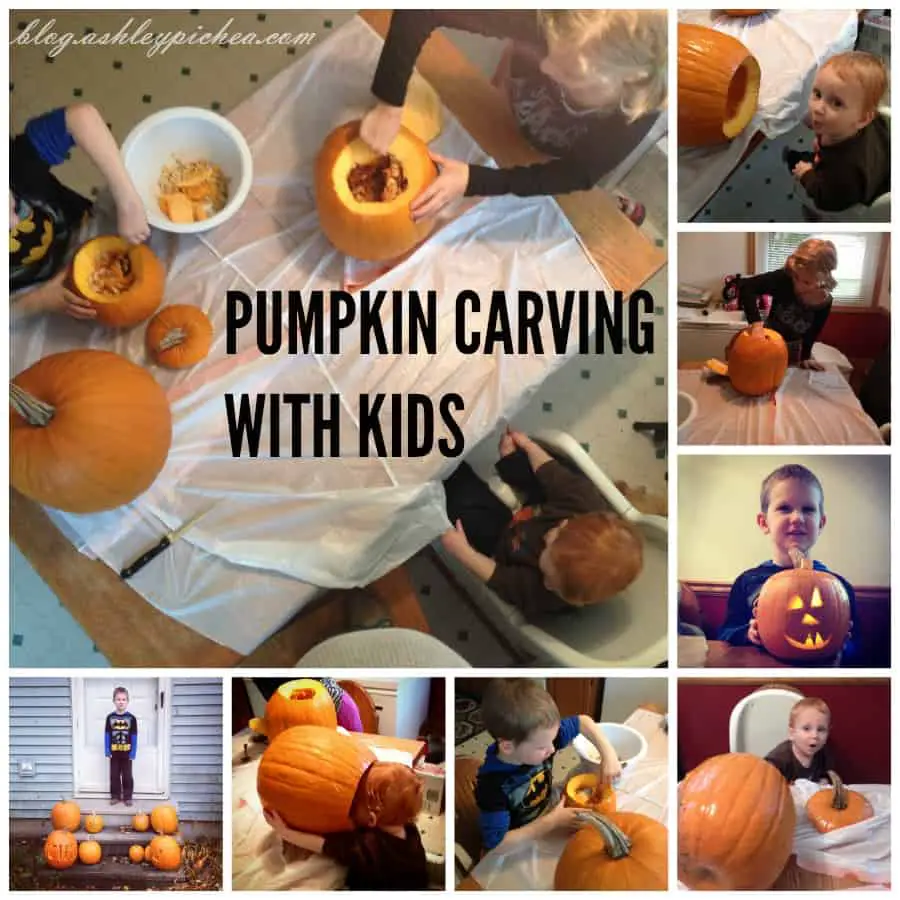
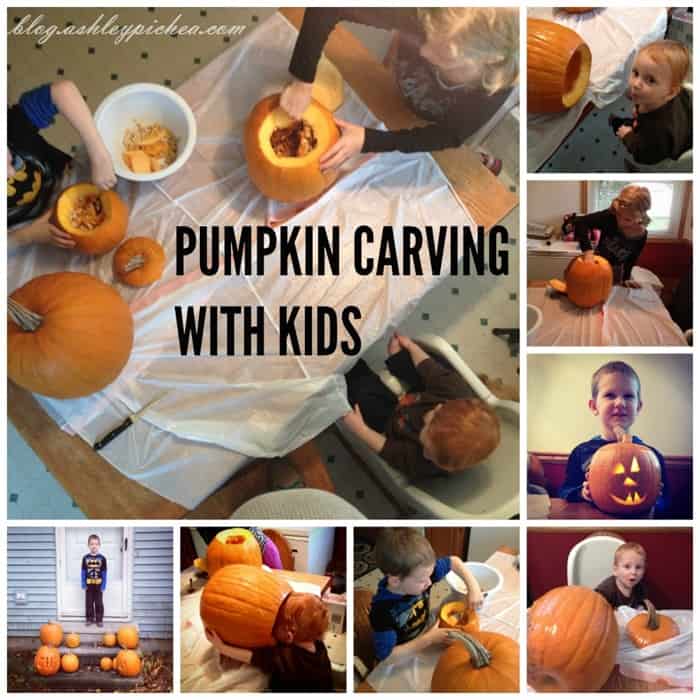
My kids have been begging to carve pumpkins since the middle of September. They remembered how much fun we had carving our pumpkins last year, and they couldn’t wait to do it again this year!
Last year, we got a late start to the pumpkin fun. Last minute, I found myself searching for a pumpkin patch, and I was shocked at the cost for pumpkin picking at the local pumpkin patches. I commented about my shock on my personal Facebook account and a friend invited us to come get some pumpkins (for FREE!) from her husband’s garden. He loves giving away pumpkins for kids to carve, and this spring, I got a message from them letting me know that he had planted “extra” pumpkins in his garden this year with my kids in mind.
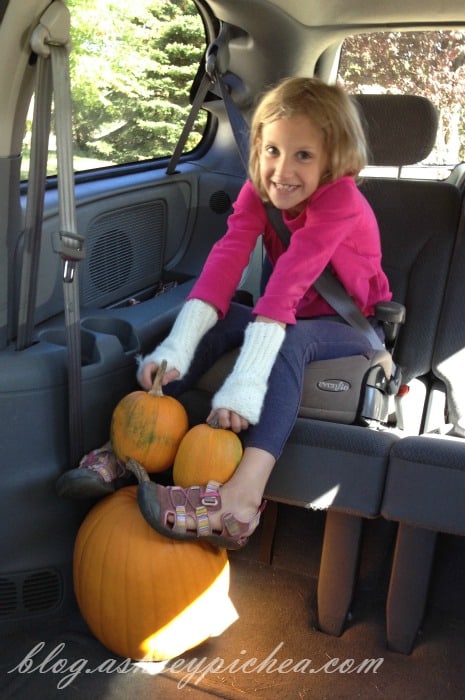
A few weeks ago, my friend sent me a message letting me know the pumpkins were “ready to pick.” Jenny and Chris and I went over a few weeks ago to pick some pumpkins (they said we could have as many as we wanted!!), and we set them on our front porch until we were ready to carve them.
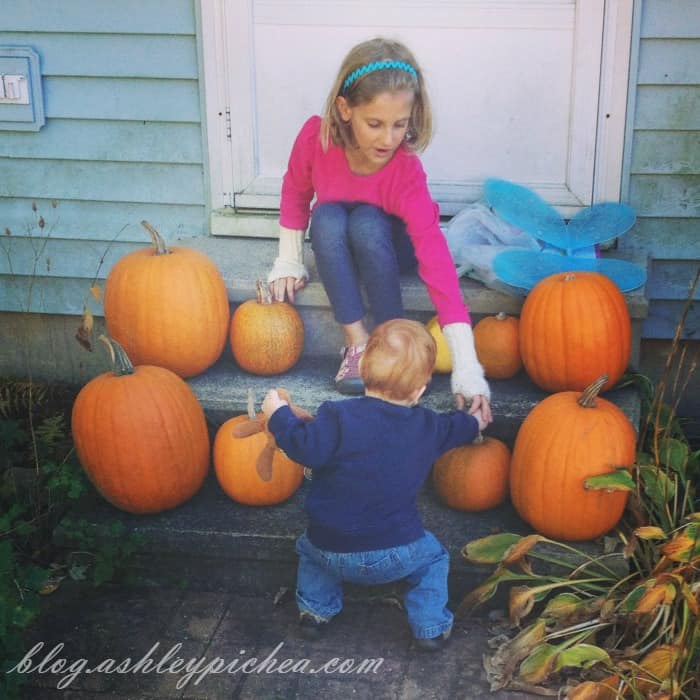
All last week, the kids were bugging me about wanting to carve their pumpkins, and I told them that we could maybe do them over the weekend. Saturday arrived, and the kids decided that my “maybe” was a “must do,” and I finally promised to help them carve their pumpkins after supper.
How to Carve Pumpkins with Kids
1. Prepare your carving area.
I cut open two plastic garbage bags to create a disposable tablecloth for our carving area… it made for an easy clean-up after the fact!
2. Pick your pumpkins.
Once we got supper eaten and cleaned up, they were ready to go – Jenny and David each went out to the front porch and picked out the pumpkin that they wanted to carve, and I picked one out for myself.
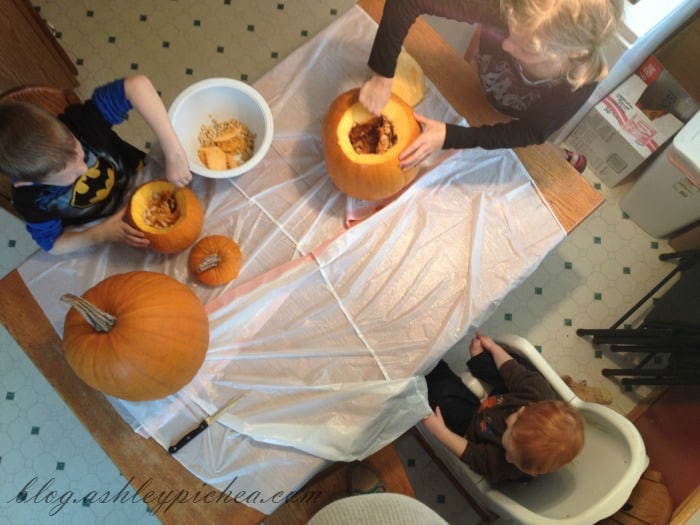
3. Open and gut your pumpkins.
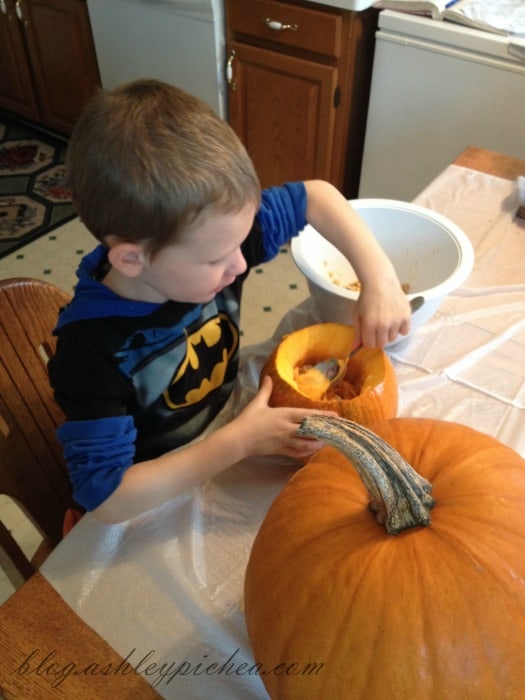
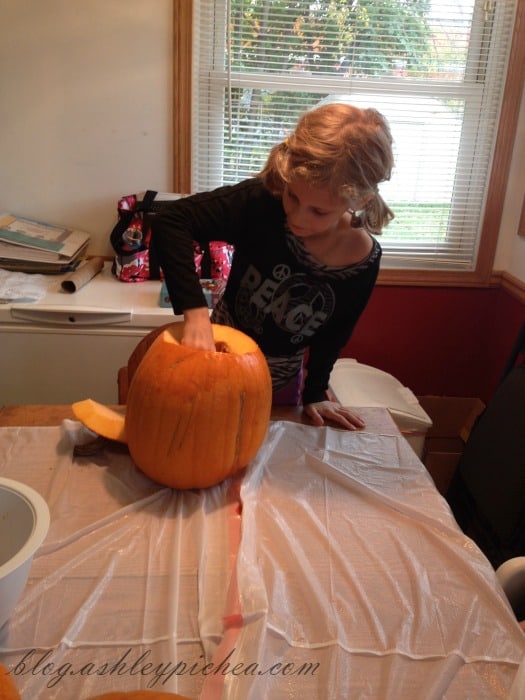
After I cut the tops off each of the pumpkins, we got to work cleaning them out. David and Jenny each had a spoon and were up to their elbows in pumpkin guts – they each managed to clean out their own pumpkins without much assistance from me.
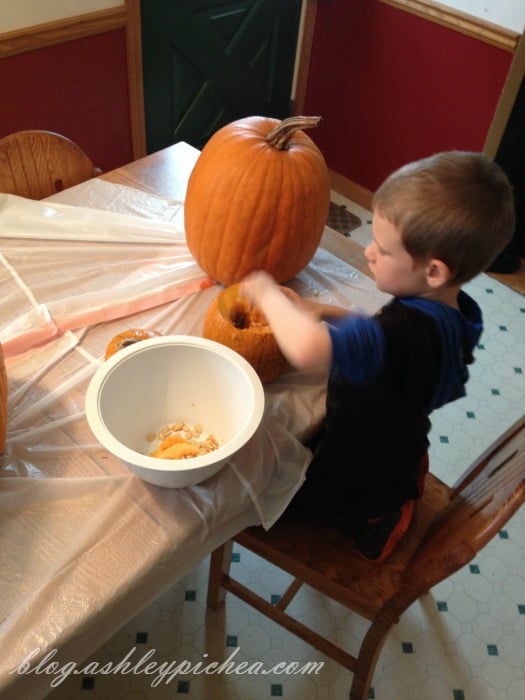
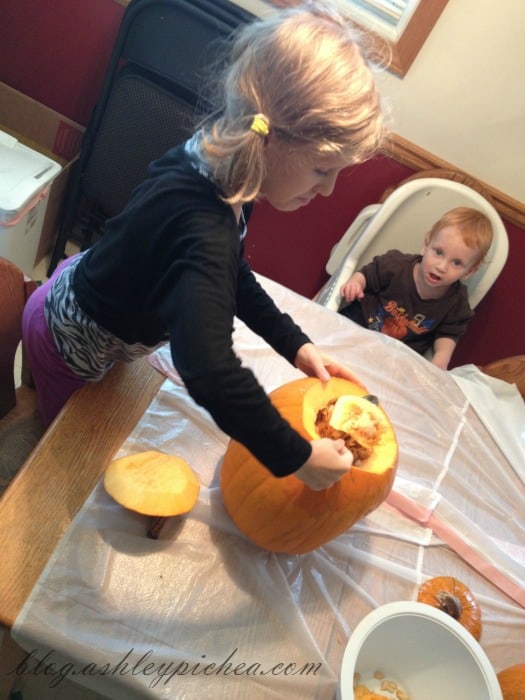
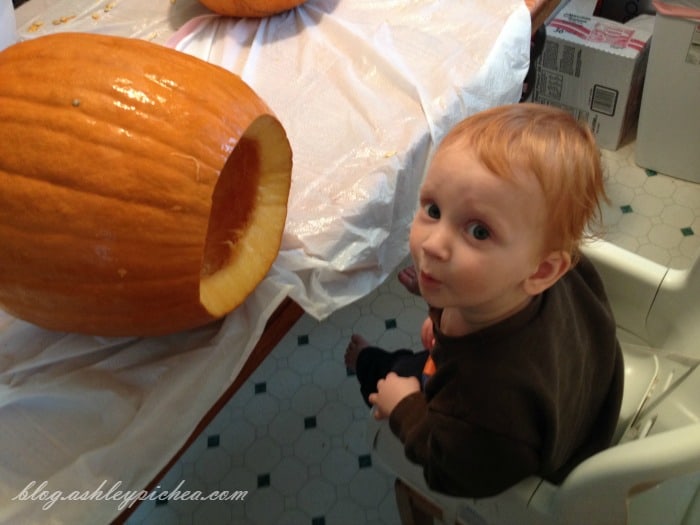
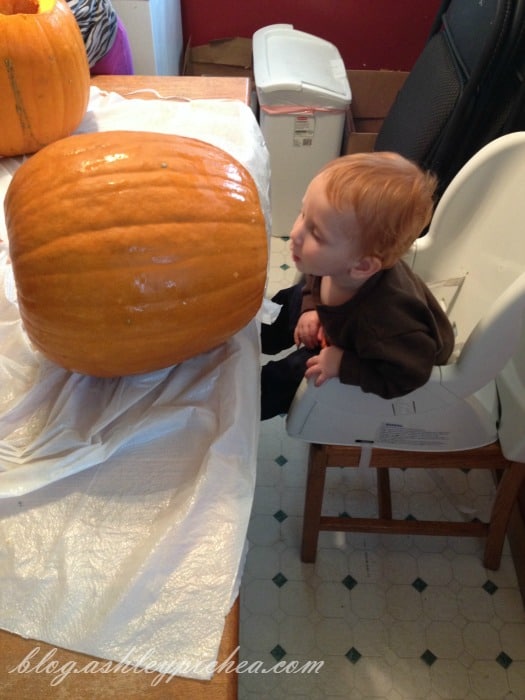
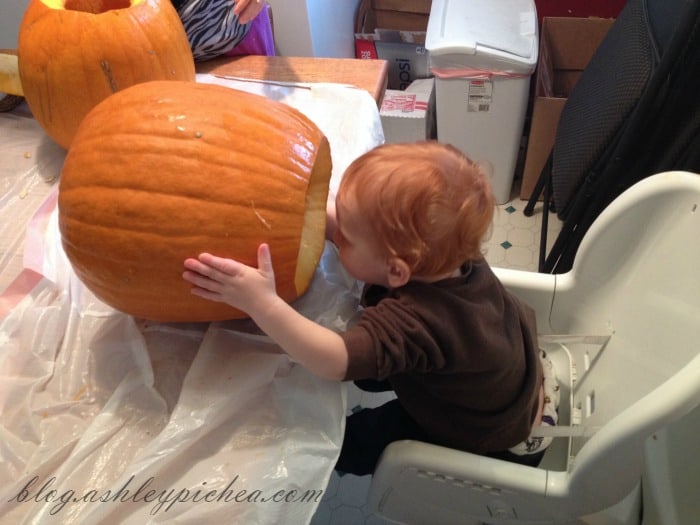
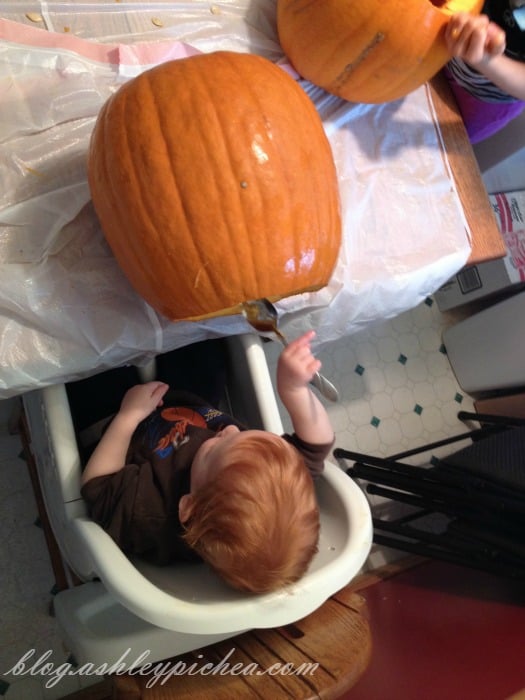
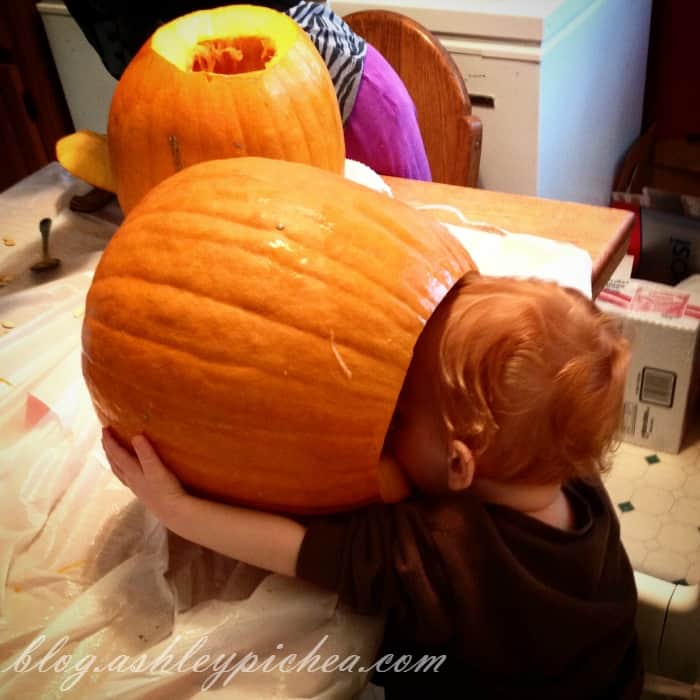
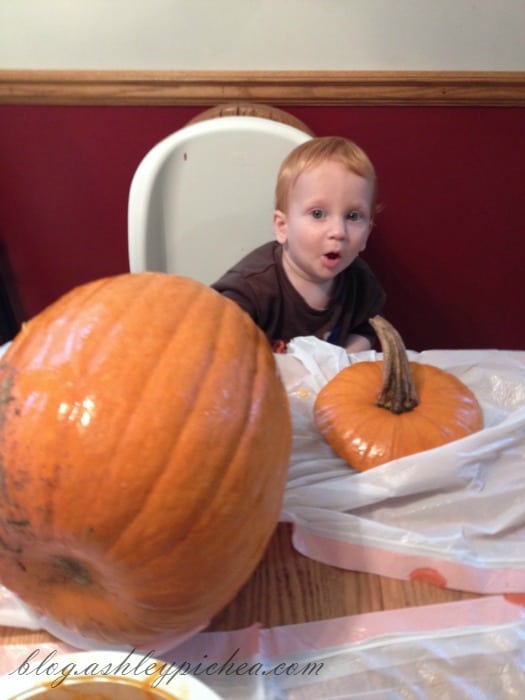
Chris enjoyed playing with my pumpkin after I cleaned it.
4. Draw your design.
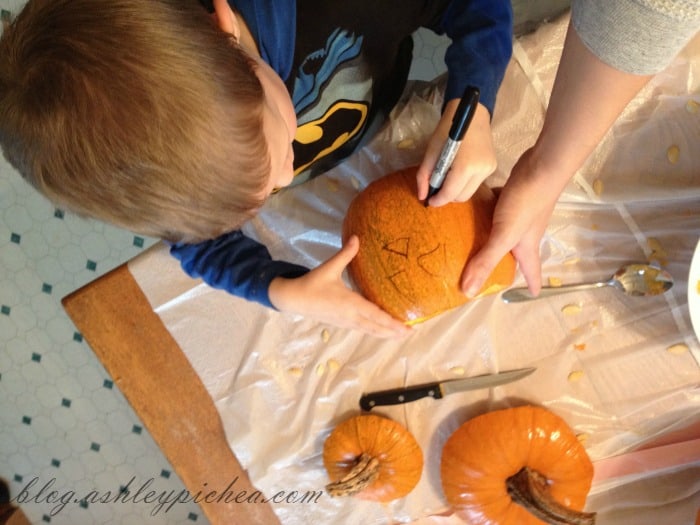
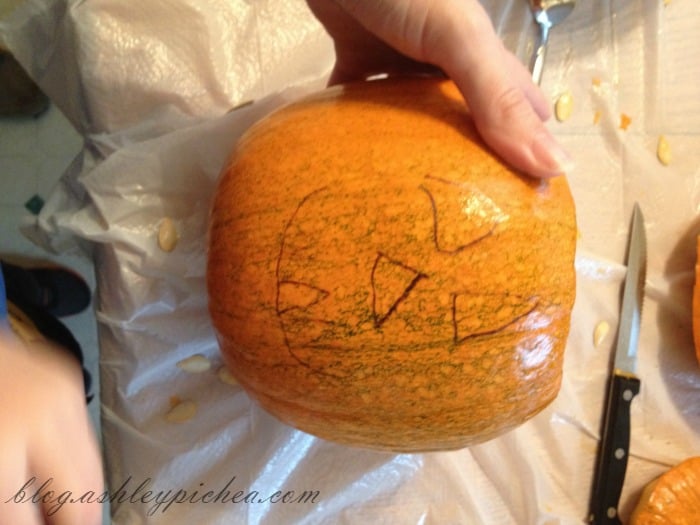
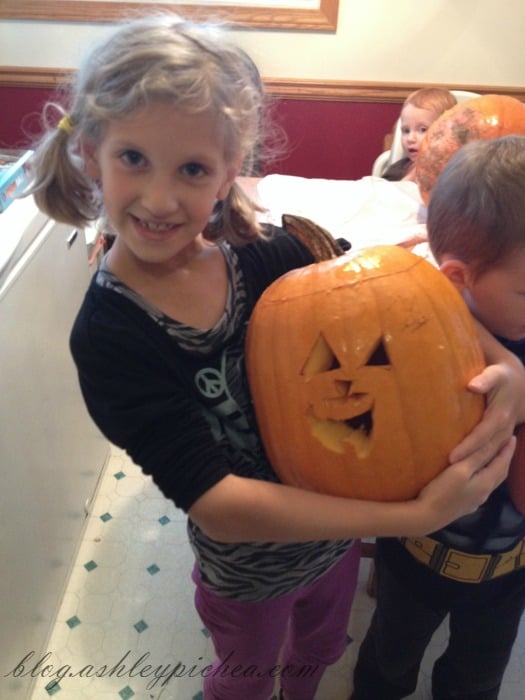
While we went “fancy” last year with our pumpkin carvings, this year we stayed “simple.” I handed the kids a Sharpie marker and told them to draw the picture they wanted me to carve for them. (Since we were only using a kitchen knife this year instead of a pumpkin carving kit, I did all the carving to avoid any injuries.) They loved being able to draw their own designs on the pumpkins, and I did my best to follow their markings (though I had to expand Jenny’s a bit because her mouth was too small for my knife).
5. Light up the night.
I hadn’t had an opportunity to pick up any battery-operated votive candle lights for our Jack ‘o Lanterns yet, so David decided to use an LED flashlight to light up his pumpkin. It actually worked pretty well, but I didn’t let him leave it outside since it wasn’t weather-proofed. I’m adding votives to my list of items to pick up before Halloween.
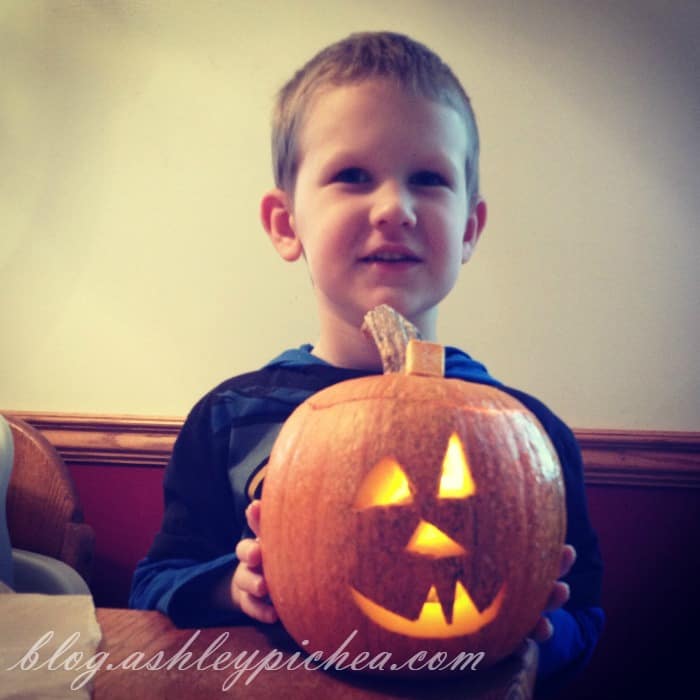
6. Display your pumpkins.
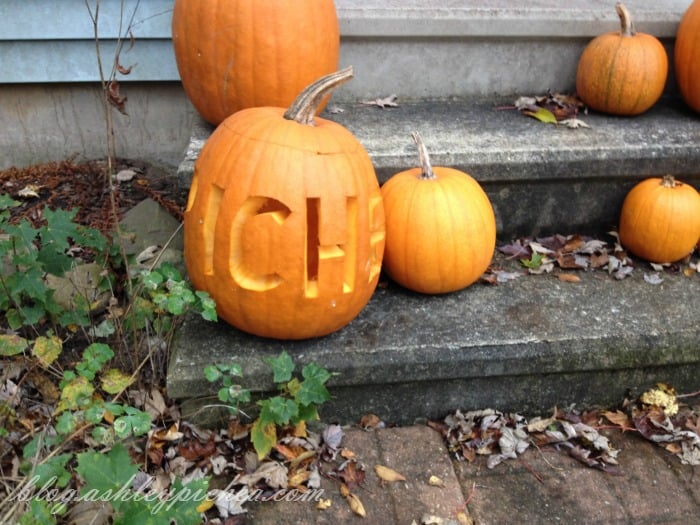
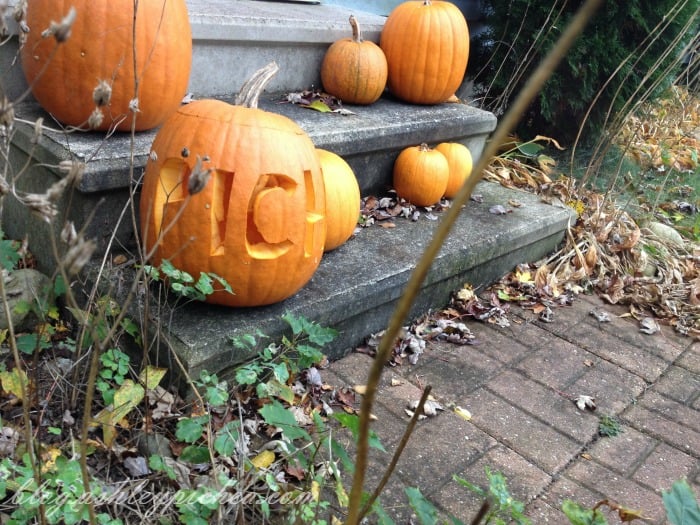
Once all three pumpkins were carved, David helped me put them back outside on the front porch. He and Jenny have both been out to “visit” the pumpkins several times since.
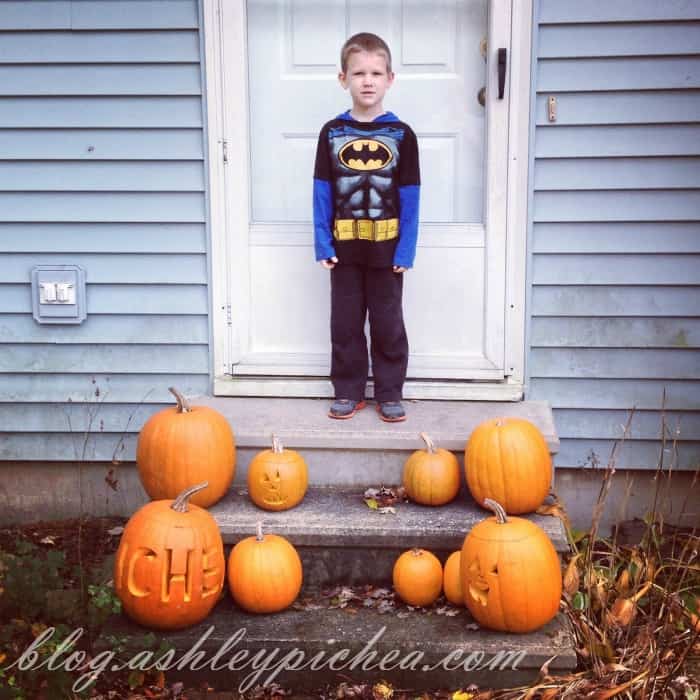
For more pumpkin carving fun…
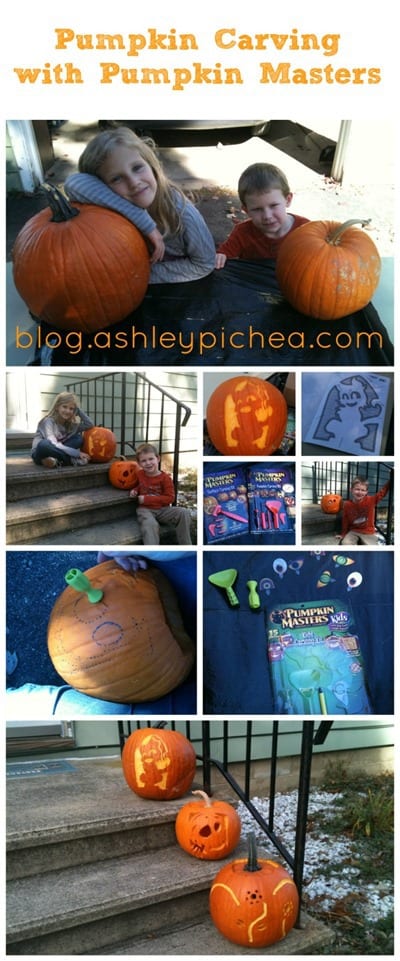
Visit our Pumpkin Carving with Pumpkin Masters post.

